Everybody uses word processors, but very few people use them in the right way. Maybe it’s time you learned to use your word processor with... style!
Despite their obvious advantages, WYSIWIG word processors have a fundamental drawback: people get interested in the final layout of the document too soon, and concentrate less on the content, which is exactly the opposite of what one should do when writing a document (and, by the way, it’s also the opposite of what happens with systems like LaTeX, where you are required to take care of the content first, and concentrate on the visual side later).
With WYSIWIG word processors people get interested in the final layout of the document too soon
Taking care of the layout too soon has inauspicious consequences. Suppose you are writing a report, for example. You start writing and, before you’re finish, you start messing around with fonts, font sizes, text alignment, colours and so on; you also mark important keywords in a bold, italicised typeface so that they stand up clearly through the document.
Then you bring the document to your boss for a review; he likes the idea of the highlighted keywords, but he doesn’t like the formatting and asks you to make them just bold. Now, since you didn’t mark keywords logically as such, you have to select them one by one and change the formatting. And you start crying of course, because you know you’re going to waste a lot of time doing a stupid and boring job. Not to mention that when you take the document to the boss to review it again, he will also ask you to change the fonts and alignment of the titles... or worse, ask you to put the italics back because he likes it better the way it was.
Well, I’m here to help you in doing first things first.
A little history
It all started in 1989, with the first release of Microsoft Word.
Soon after, in 1991, Word 2.0 was released and it finally brought WYSIWIG text processing to the masses. WYSIWIG, as you may already know, is an acronym for “What You See Is What You Get”, which means that you can set the layout of a document on the screen, and that will be the layout of the printed document.
Everybody uses a word processor nowadays. You do, too.
What you need
To make the most out of this article you need:
- a PC
- a good Word Processor, like OpenOffice.org Writer is!
- patience and relax: don’t hurry
- a simple, short document to write, like a letter
Step 1: start OpenOffice.org Writer
Start the program. Probably you already have a “OpenOffice.org Writer” item in your menu; in GNOME it’s usually in the “Applications” menu, under the “Office” submenu. Or you can run the oowriter command straight from a terminal window.
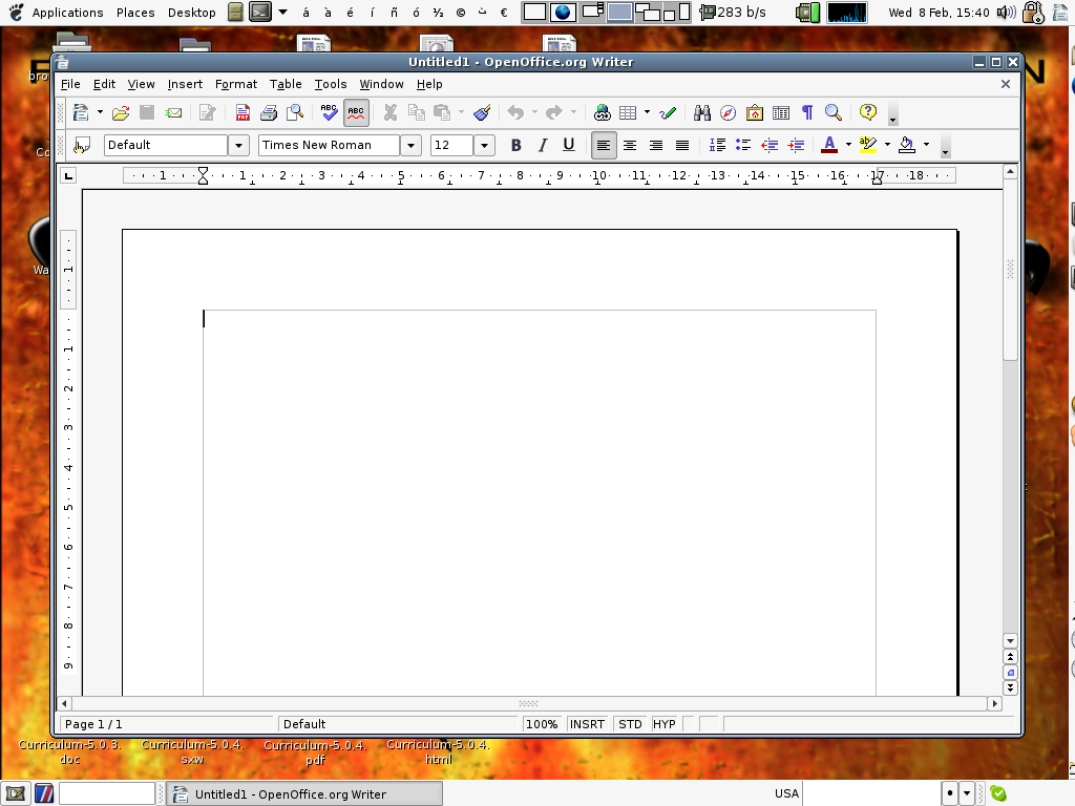
Once you start it, you’ll see a window like the one in figure 1. This is the graphical interface of OpenOffice’s Writer module.
Step 2: start writing
Start writing. Care only about the content. Don’t be concerned about the fonts, don’t be concerned about font sizes, don’t be concerned about anything but the content.
Start writing. Care only about the content. Don’t be concerned about the fonts, don’t be concerned about font sizes, don’t be concerned about anything but the content
Step 3: once finished, think about the style
Once you are done with the content and you are happy with the things you wrote, it’s time to do a kind of document make-over.

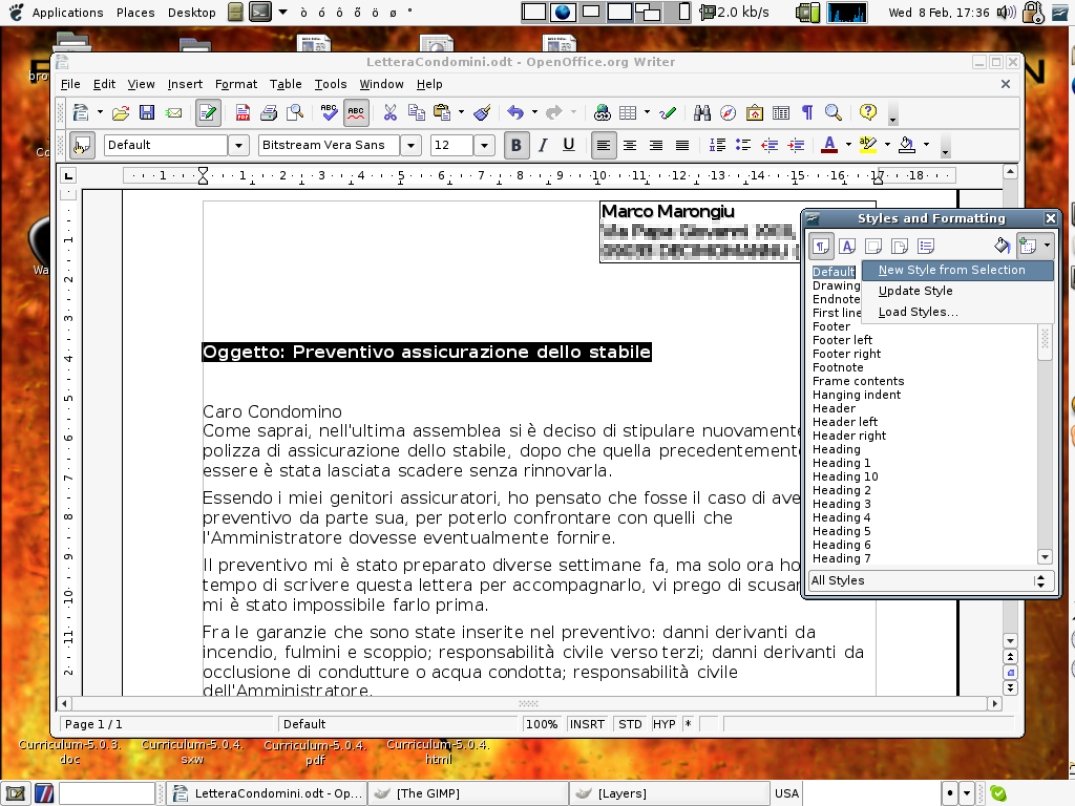
Open the “Format” menu and look for the “Styles and Formatting” item (see figure 3), or just press the F11 key. You will get a pop-up window where you can select and modify existing styles, or create your own.
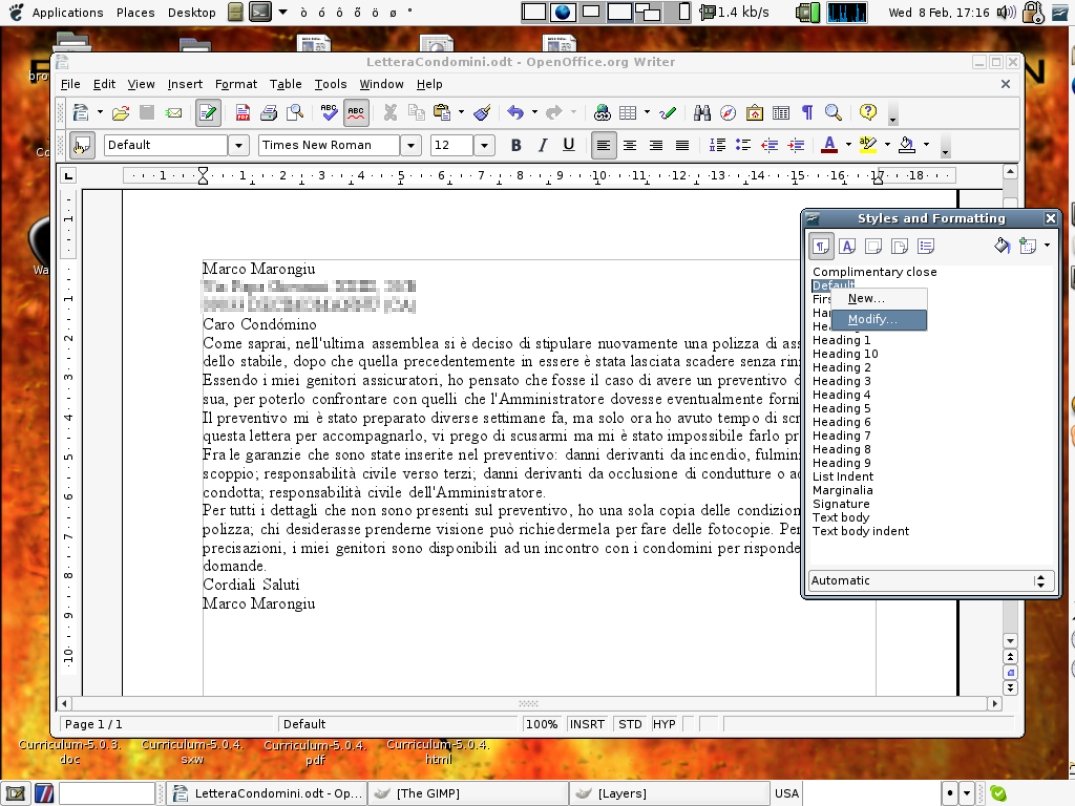
Many of the styles are based on the “Default” style. Hence, if you want to change, say, the font of nearly the whole document you can start modifying this one. Look for the “Default” item in the pop-up window, right click and select “Modify...” (see figure 4).
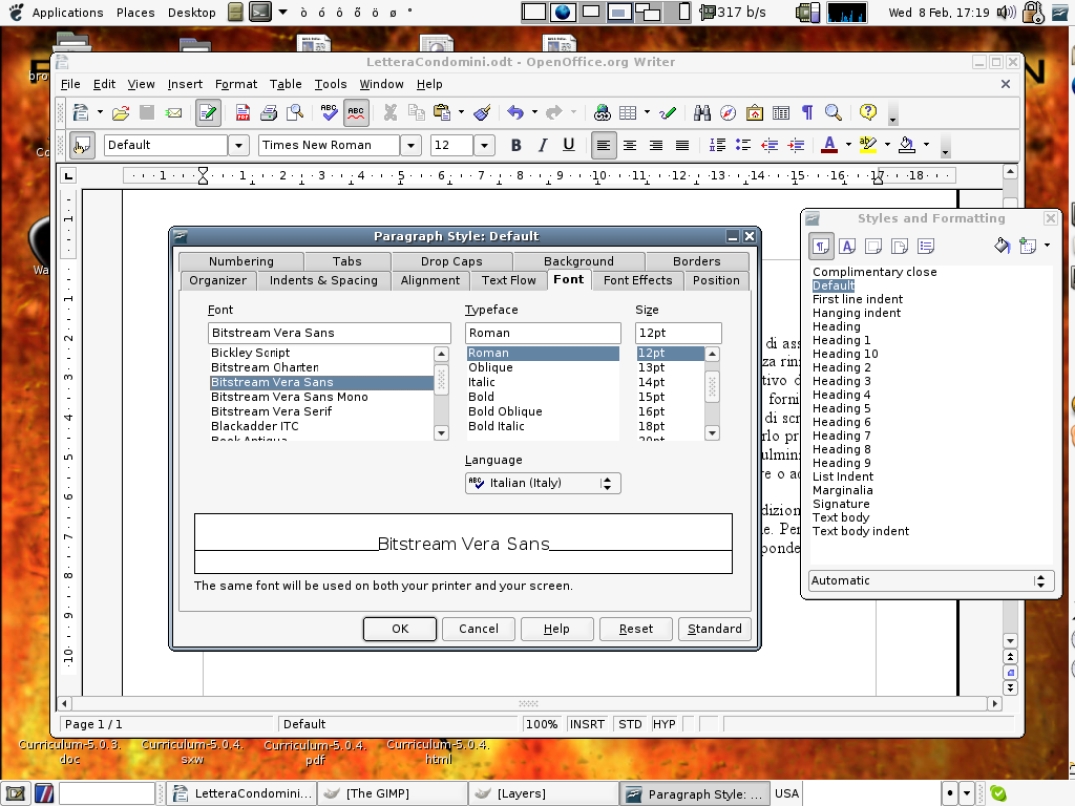
A new window pops up. From this window you can define almost all aspects of the style. For the moment just change the font family, by choosing a beautiful Bitstream Vera, sans-serif font (one of my favourites, and it’s released under a free license too!). As soon as you press the “Ok” button you’ll see how the fonts of the entire document suddenly change to reflect your choice.
Step 4: logically restyle individual parts of the document
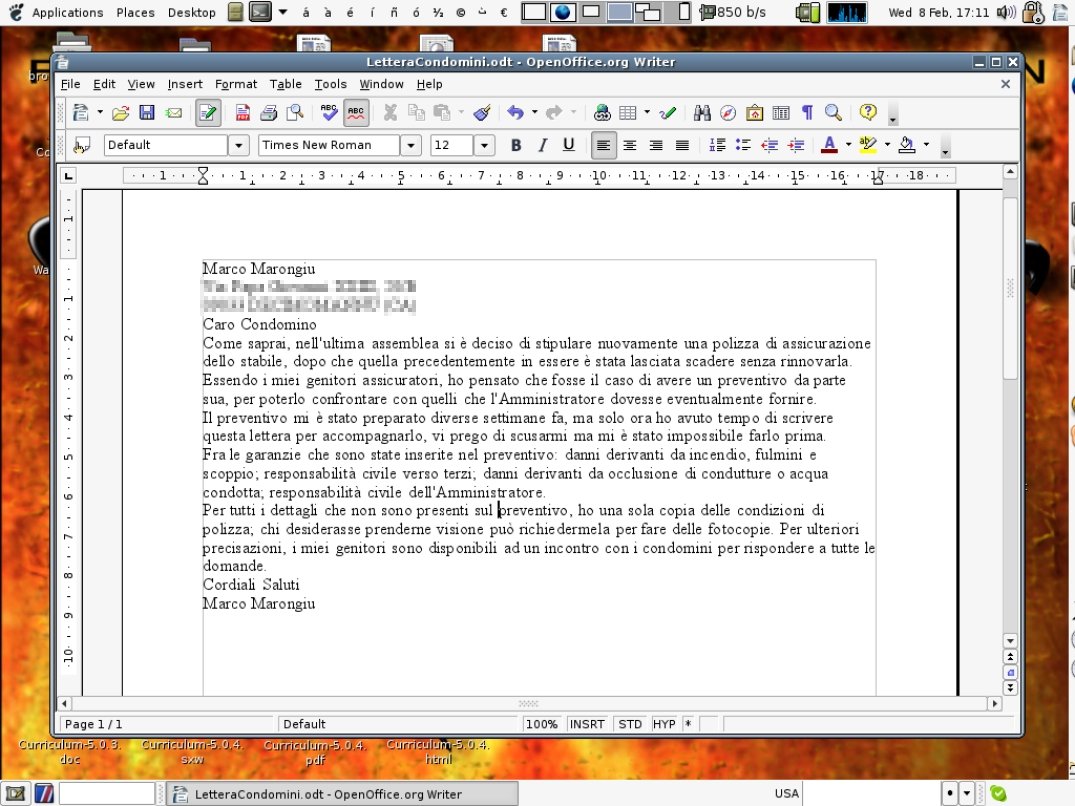
Now it’s time to think about the text from a logical perspective, and apply styles according to the logic. In the specific case of our letter, it’s easy to decompose it into a few blocks, each one playing a specific role:
- the address;
- the opening, that is: the salutation that opens the letter;
- the body of the letter, where the real content of the message is; usually, that’s the biggest part of the letter;
- the closing, that is: the salutation that ends the letter;
- the signature, that is: your name (and some room for the real signature that you will write by hand).
Each of these parts need different formatting. Start formatting the body.
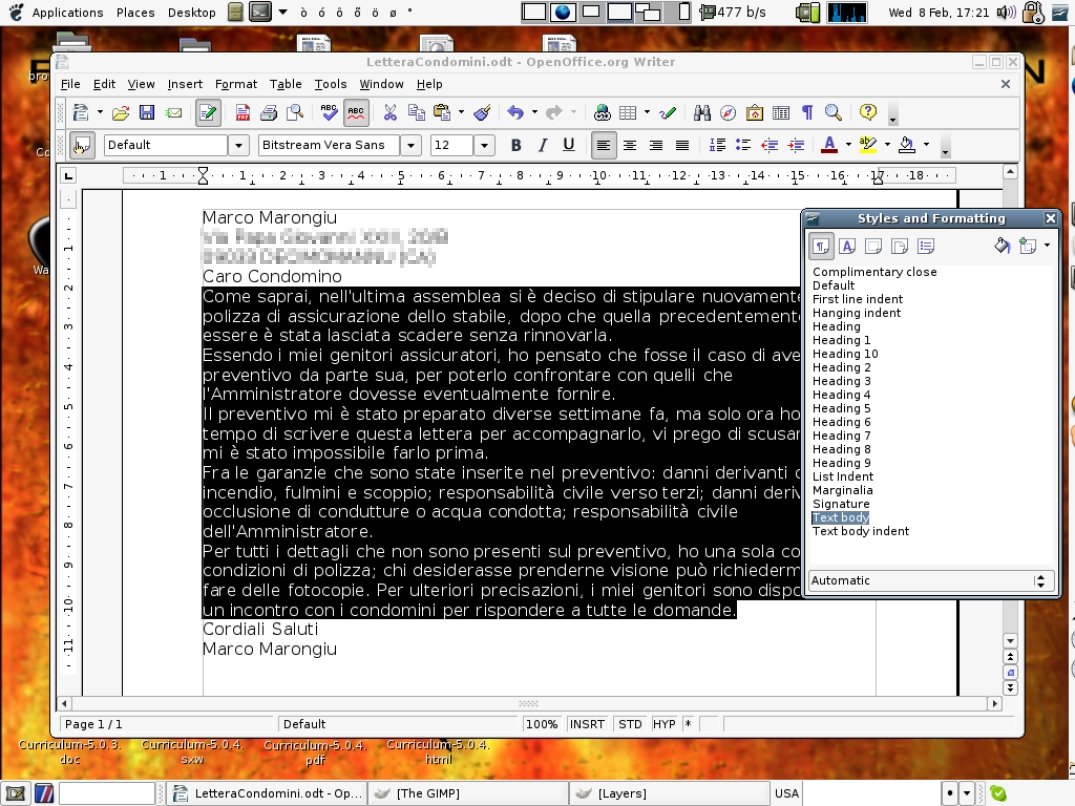
Select it with the mouse, then go to the styles pop-up. The “Text body” item is active: as shown before with the Default style, just right click on it, select “Modify...”, then change the style however you want. In my case, I just added some vertical space at the end of each paragraph (want to know how to do it? keep reading!) and indented the first line, but you may want to experiment by changing different parameters and seeing the results of your customisations: it’s an interesting experience!
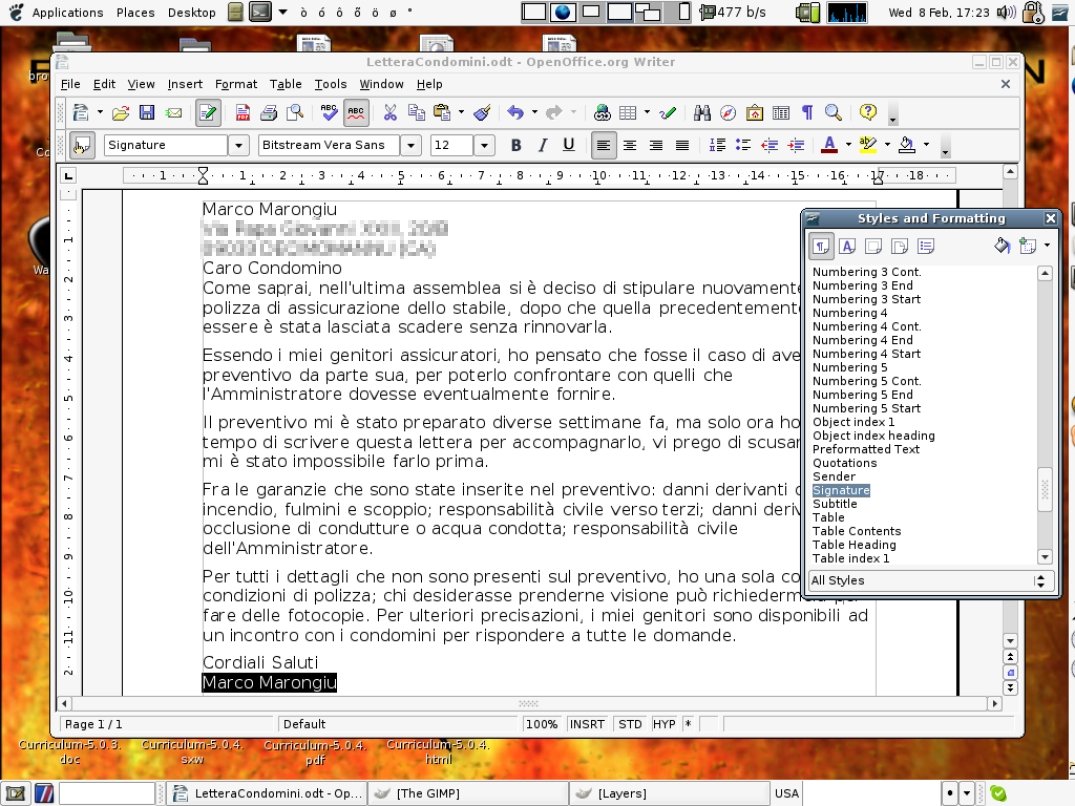
You can customise all the other parts of the document in the same way, for example: select the signature, look up the “Signature” style in the pop-up and apply it; if you don’t like it, just customise it the same way as above. Go on and customise all the other parts.
Think about the text from a logical perspective, and apply styles according to the logic
Step 5: adding you own styles
In the letter above, I intentionally “forgot” to put in a subject line. Now I’ll show you how to add one, customise it and create a style out of it.
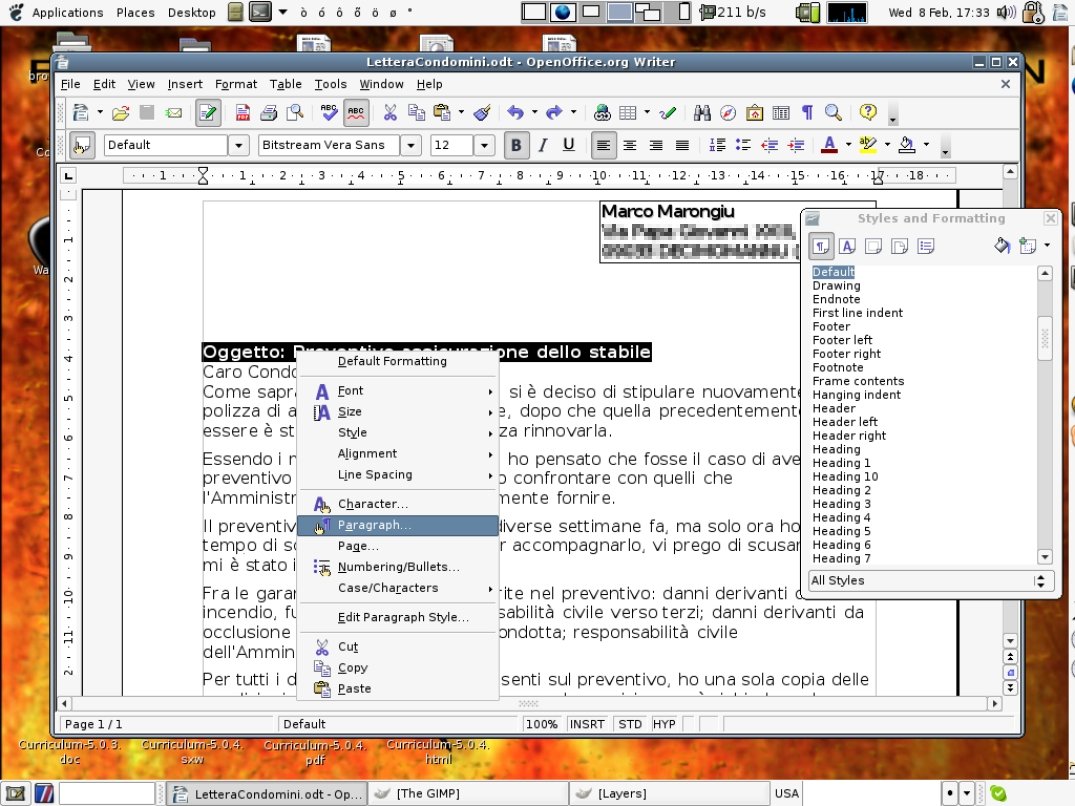
First of all: type in the subject line. Once you are done, select it, right click and select “Paragraph”: that’s where you will define how a subject line should appear.
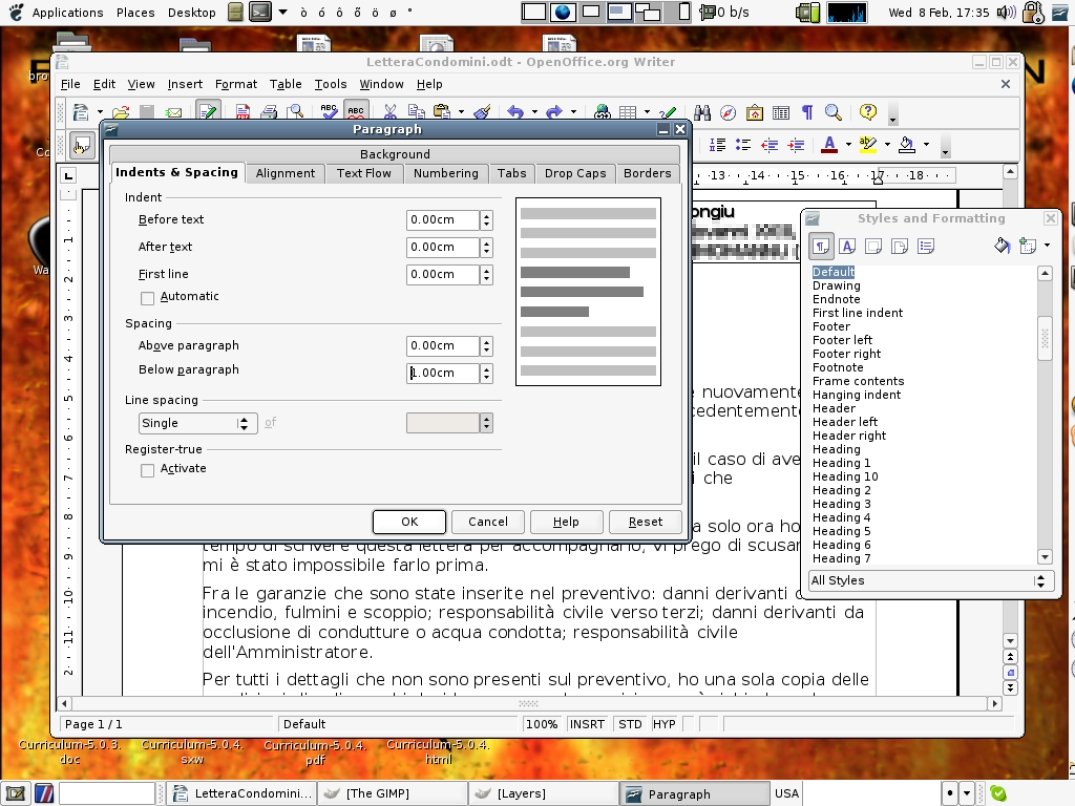
In this case, I just wanted the line in a bold face, so that it stands out and you can easily locate what the letter is about; I also added some room below it. In figure 9, you can see how you can set a 1.00cm space below the paragraph.
Having done that, press the rightmost button in the pop-up and select “New style from selection”.
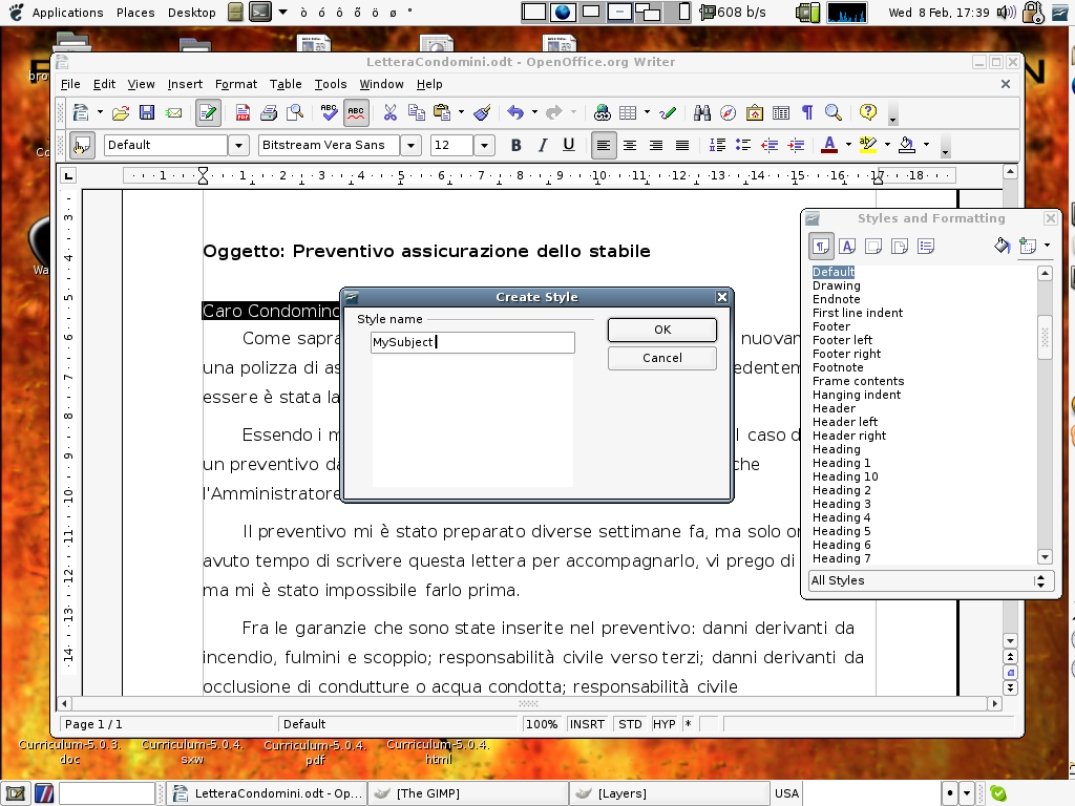
You are then prompted to name your style. It is better that you adopt some kind of naming convention, so that you can easily recognise your styles from the bundled ones. In this case, I chose to prefix my own styles with the word “My”, e.g.: “MySubject”, “MyFirstLine” and so on.
Having dealt with with the subject line, repeat the same steps to create new styles every time OpenOffice.org doesn’t provide one that fits your needs.
Updating existing styles: an easier way
Going through a tabbed pop-up window to personalise a part of a document is not a hassle (or, at least, that’s my opinion but yours could be different). Really, is there no easier way to modify an existing style?
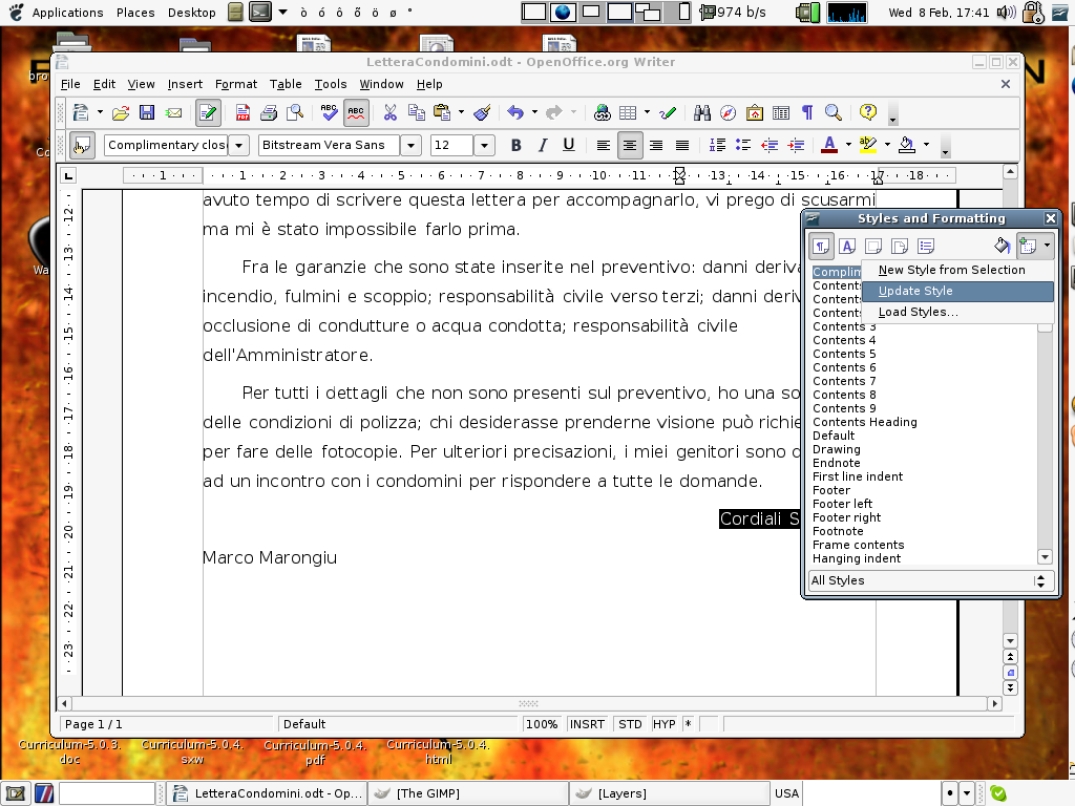
Well, actually there is. As before, select a part of the text you have already styled (in figure 12, I selected the closing of the letter, styled with “Complimentary close”), then modify it using the normal tools available in the interface of the program (e.g.: click on the buttons to align the paragraph to the centre, change margins interactively using the cursors in the upside ruler and so on). After you’re done, click the rightmost button in the pop-up again, choosing “Update Style” this time. The style is automatically updated with the changes you made to the text.
Summing up: is it worth it?
This was just a little example, and you may well wonder if the procedure shown is general enough. Well, actually it’s not. The aim of the article was to show why using styles should be preferred over sloppy formatting, not to give a general procedure on how to write documents. It isn’t wise, for example, to write a document of some tens of pages and leave it to the very end to style the text.
Styled documents are ready for automation
So, for longer documents, what you should do? Well, now that you know that styles are important, just apply them on the go. When you are writing a level 1 heading, mark it as such! When you are writing the body of the text, do the same. Once all your text has been completely marked, you can make any changes to your document and you won’t be worried if your boss wants dark red, widely spaced headings or wants to change the font of all the text body. (Even if you don’t have a boss that requires you to write reports, you are exposed to the same problems anyway. Using styles will solve them!)
Another advantage is that styled documents are ready for automation. What do I mean by that? Well, many things...
Inside-document automation
Big documents always have a table of contents. If you styled your documents marking the headings, then OpenOffice.org can create and update the table of contents for you because it knows which parts are headings and where they are (the page number). Creating a tables of contents by hand is a real pain; worse, updating it when parts of the document are changed can lead to suicide! So, why not let something else take care of it for you?
For this functionality look in the “Insert”→“Indexes and Tables”→“Indexes and Tables...” menu.
Outside-document automation
You may want to know that an OpenOffice.org has a lot of XML under the hood. Therefore, if you logically marked the parts of your document and you know what you are doing, you can extract information from the document even if you don’t have an OpenOffice.org installation at all! Of course, if the whole document is just a sloppily-formatted, Default-styled document, it provides the same amount of structural information that a plain text files does (which means: almost nothing). However, if you write your documents wisely then you can, for example, automatically create a pretty web page with all your documents’ titles and abstract.
So, if you’ve never written your documents with style, it’s never too late to start. Begin today, and after a short time you will ask yourself why you never did it before!